Lately I started playing with Oracle 20c and the cloud. I had a few issues with configuring the DB VM and accessing it from home, so here is a short guide.
The steps described in the post are:
- Create a Virtual Cloud Network (VCN)
- Create a subnet for your VCN
- Create a Gateway for the VCN
- Create a Route Table for the VCN
- Create the VM
- Access the VM from a public network
This guide assumes that you created a compartment to contain all of the components (they can also be located in the root compartment). The compartment in the screenshots is called “TestCompartment”. The guide also assumes that you already have a pair of public/private key files to use for the VM.
Create a VCN
In order to create any resource with IP you first need to create a VCN. Open the VCN menu then create a new VCN. You need to make sure that the VCN is in the same compartment as the VM you’ll create later. In this case for IP I provided a block of 64K address (10.10.*.*):


Create a Subnet
After you created the VCN you should create a subnet. In this case I created the subnet with 256 IP addresses (10.10.100.*). Note that subnets cannot overlap so if I had created the subnet as 10.10.*.* I wouldn’t have been able to create another subnet in this VCN (because the subnet contains the entire VCN address space). Also, make sure you choose “public subnet” so you’ll be able to connect to servers in this subnet from the internet:

Create an Internet Gateway
After creating the subnet, the VCN will look like this:

Now it’s time to create a gateway for public access. Click the “internet gateway” link:

Create a new gateway:

Create a Route Rule
Last thing on the network side will be to create a route rule, to allow routing of network from the internet to our VCN. On the VCN page, click the “route table” on the left and then click the existing route table on the bottom of the screen. Then create a new route rule and choose the internet gateway you created (the address in my example allows routing from any internet address):


Create a VM
Now everything is ready to create a new VM. Go to the “bare metal, VM and Exadata” menu item and create a new DB system:


The create screen is too large to put here as a screenshot, but these are the important settings:
- Choose the compartment that contains the VCN
- If you’d like to create a 20c database, choose “logical volume manager” instead of “Oracle grid infrastructure” (the GI one does not have 20c database option)
- Choose the VCN and subnet you created before for this VM
- Select the public key file to use with the VM
- When you are ready, click next to go to the database page
- Choose a sys password and 20c as the database version (note that it’s a preview only and not for production)
- When you’re ready create the VM
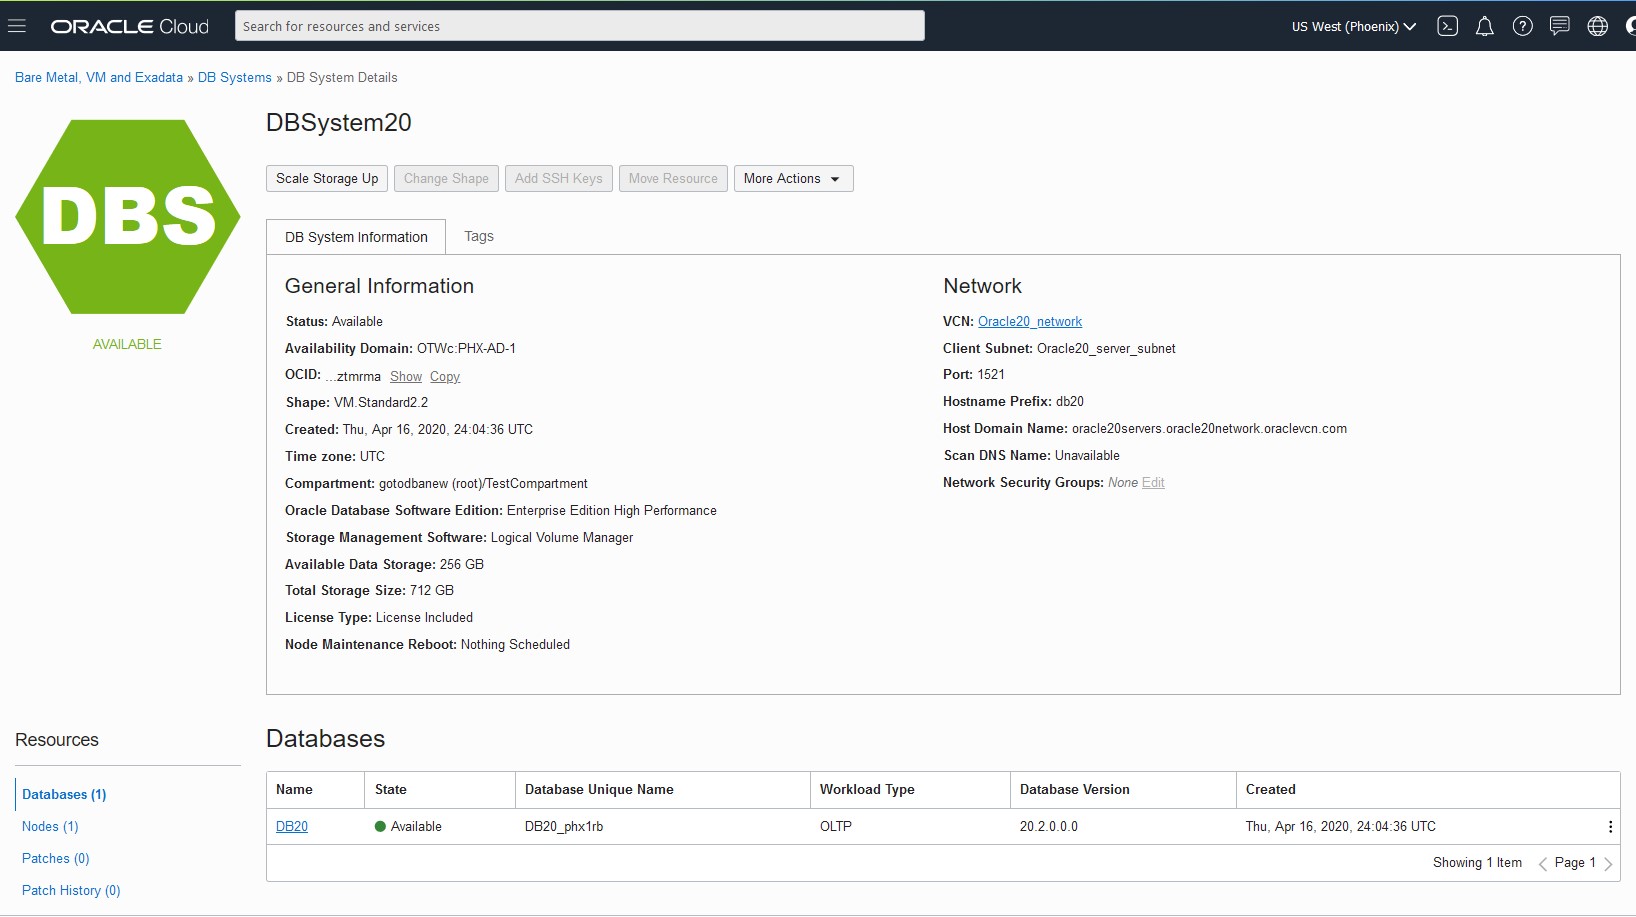
Once the VM is ready (it will take some time to get provisioned) it will look like this:

To connect to the VM remotely, click the “nodes” link on the left to see the allocated public IP for the VM:

Now you can create a local Putty connection (or any other terminal), use opc@<ip> (129.146.57.43 in the screenshot) and the private key file (ppk). Then you can change to oracle user and connect to the database:

Managing the VM
If you’d like to stop or reboot the VM, you can do that in the VM screen:
- Click the “nodes” link on the left
- On the node row there are 3 vertical dots on the right, clicking them will open a small menu
- In this menu you can stop/start and reboot the node


1 thought on “Creating a Public Accessible 20c Database VM on Oracle Cloud”